
Airflow visualisation, usually called a smoke study, is one of the few pieces of cleanroom evidence an inspector can watch rather than read. That makes it powerful, and it makes a weak study very obvious. Fog drifting across a filling line on a shaky phone video, with no indication of where the camera is or what the operator is doing, raises more questions than it answers.
Here is what a smoke study needs to show, and how to film it so that it shows it.
Why it matters more now
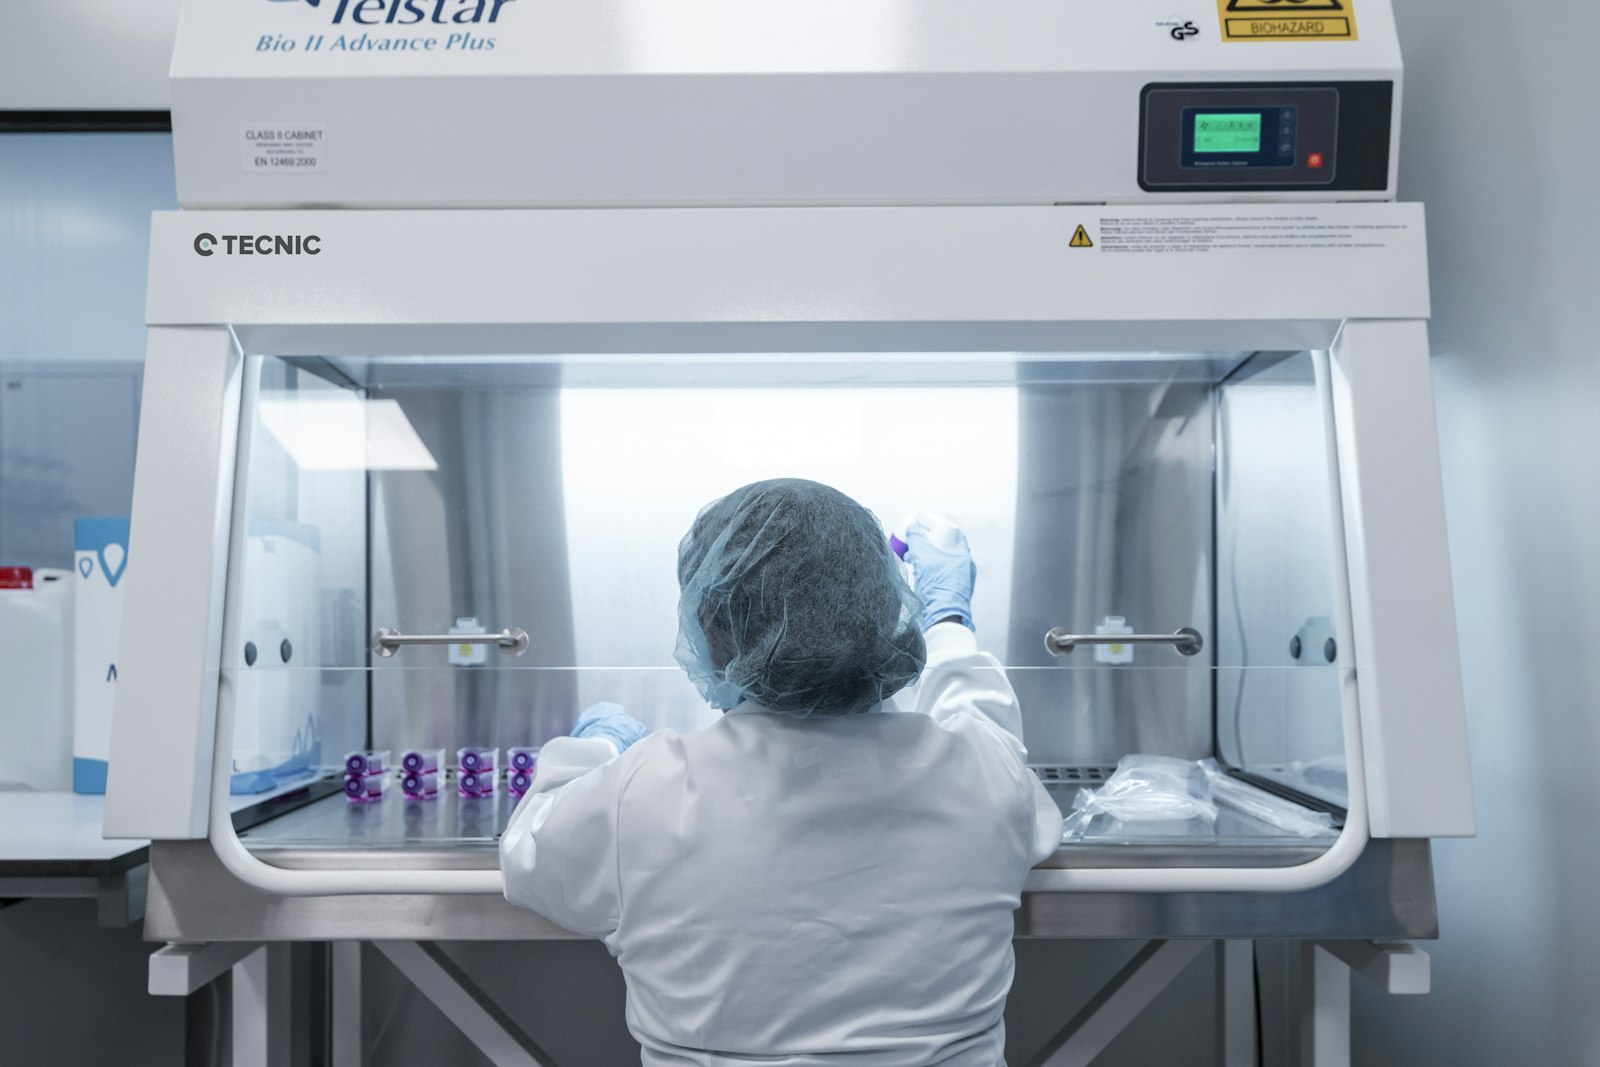
The revised EU GMP Annex 1 expects airflow patterns in Grade A to be visualised, both at rest and in operation, including during simulated operator interventions, and expects video records to be kept. It also expects the results to feed into the contamination control strategy, for example in choosing environmental monitoring locations. A smoke study is no longer a commissioning formality. It is part of the evidence for how the process is protected.
What the study should demonstrate
- Unidirectional airflow sweeping over critical surfaces and away from open product, at the expected speed and direction.
- That "first air", the air coming straight from the filter, reaches critical points without passing over anything that could contaminate it.
- What happens when operators intervene: reaching in, clearing a jam, changing a component. Does the air recover, and how quickly?
- Where turbulence, reverse flow or stagnant zones exist, and whether they matter.
- Airflow at the boundaries: openings between grades, mouse holes, door openings in RABS and isolator transfer points.
Choosing the smoke
The smoke should follow the air, not fall through it. Water-based foggers using purified water are common because they leave no residue, but their droplets can be dense enough to sink, especially close to the generator. Neutrally buoyant tracers follow the air more faithfully. Whatever you use, introduce it at a controlled rate close to the point you want to observe, so it is visible without overwhelming the scene.
Filming it as evidence
- Use a fixed camera position for each scene, on a tripod, and record the position on a room drawing.
- Put a dark, non-reflective background behind the area of interest, and light it from the side.
- Start each clip with a caption card or narration giving the room, the equipment, the scene number and the condition (at rest, in operation, intervention).
- Film interventions exactly as the operators do them in production, using the procedure and the gowning.
- Keep the clips long enough to show the recovery after an intervention, not just the disturbance.
The report
The video is the raw data. The report is the interpretation. For each scene, it should say what was expected, what was observed and whether it was acceptable, with the clip reference and time. Where the airflow was not acceptable, it should say what was changed, such as a revised intervention technique, a relocated object or a modified barrier, and refer to the repeat filming.
A good test of the report: could someone who was not present pick any conclusion in it and find the moment in the video that supports it within a minute? If yes, the study will hold up in an inspection.

 GAMP Services Limited 2026. All Rights Reserved.